I can explain – Gerda Steiner Designs

I just couldn’t resist turning these naughty Christmas kittens into some fun Christmas tags. The expressions on their faces say everything don’t they! As a cat owner I can attest to my cats getting up to the exact same shenanigans once my tree goes up every year.

These tags were so fun to make. I wanted them to be super dimensional so I added foam tape between each layer. I also had these adorable Christmas charms in my crafty stash that I thought would be a cute addition to the tags as well.
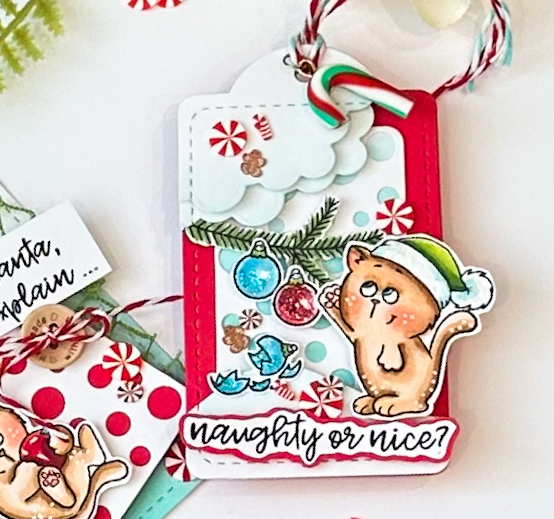
White and red card stock and salvaged patina oxide ink were my colour theme.

I coloured the kitties with copics in the colours E000,50,51,53,R21,20 and used a white gel pen to add some white dots to the fur.
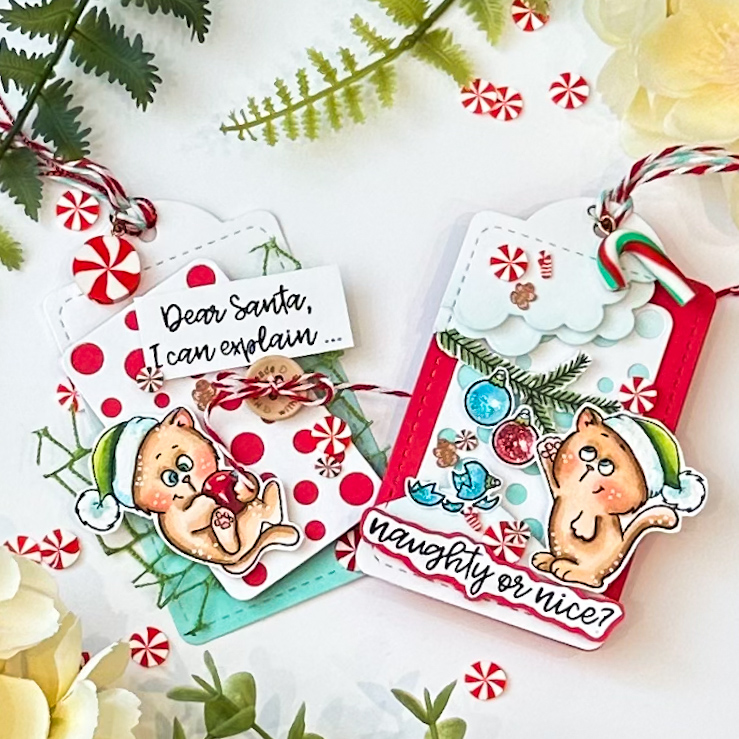
I finished the tags off with a wood button hot glued on the one tag and some red and blue glitter glue on the ornaments for a nice sparkle as well as adding some fun Christmas slice embellishments.

Crafty Hugs,

Allie

Pocket Book Tutorial


Hello everyone! Welcome to Tutorial Thursday!
 
ALLISON here with you today to share a tutorial with you!
Today’s tutorial is:  QUILTED DOUBLE POCKET BOOK
A double pocket book decorated in a quilt style pattern
PRODUCTS USED

COPIC COLORS
Duck – E53,50,0000,13,YR30,YR31
Orange – YR16,18,Y17
Blue – B52,B000,B01
Yellow – YR31,30
 
PAPER CUTS & SCORING
Coloured Card Stock base cut to 6.5″ x 3.5″ and
Scored at 3.25″

~ now for the tutorial you have been waiting for ~ 
 
Start by die cutting around 20-22 hexagon shapes from patterned paper.  I used the 2nd smallest from the nested hexagon die set.
Glue hexagon pieces to coloured card stock cut at 6.5″ x 3.5″ and scored down middle at 3.25″ in quilt pattern.
  Trim off the over hang of the scallops and use the cut offs to fill in the remaining few small areas that didn’t have a hexagon shape glued down on.
Gently and repeatedly work at score line again to help hexagon shapes fold over.
Use corner rounder to round out edges.


Cut two of the second smallest scalloped hexagons from the Tales Of Oz Paper Pack.  These are the tabs.  Glue about 1/2 of the scalloped hexagon tag to inside of front and back cover.


Cut two 3″x3.25″ panels from the Tales Of Oz Paper Pack, corner round them and glue to inside of book on each side.


Cut both a left and right pocket using the pocket dies and use the corner rounder on both bottom corners of each pocket and glue to inside of book.


Cut the second largest Nested Frames Die from Tales Of Oz Paper Pack and ink blend edges with antique linen oxide ink.  Trim off maybe 1/2″ and glue flat to front cover.


Die cut Poppies and ink blend edges of them with Saltwater Taffy oxide ink.  Attach poppies adding white highlights and dots to the petals.
 
Colour duck and attach with dimensional tape.
 
Stamp sentiment and attach with dimensional tape.
 
Hole punch tags and tie with ribbon. 
 
We hope that you are inspired to try out your own creation with the amazing stamps and dies from La-La Land Crafts!
 
Make sure to join our LLLC FAN GROUP on Facebook for more ideas, 

inspiration and a general chit chat about our products!
Hoping you all have a great week of Creating
ALLISON
Click on the buttons below to find us on these social media sites:


Heffy Doodle and La-La Land Crafts Insta Hop

HOP QUICK DETAILS

Date: Aug 15, 2023 at 9:00 AM EDT
Prizes: Heffy Doodle: £25 | La-La Land Crafts: $30
Giveaway Comment Deadline: Aug 22, 2023 at 11:59 PM EDT
Giveaway Winner Blog/IG Posts: Aug 24, 2023 at 10:00 AM EDT

Exciting News!  Today, we’re kicking off a Collaboration Insta-Hop with Heffy Doodle & La-La Land Crafts!!  Get ready for amazing inspiration from both talented design teams!  But that’s not all!  Both companies will also be giving away £25 ($30) PRIZES!  It’s super simple to enter to win – just leave a comment at each stop along our crafty lineup by Aug 22, 2023 at 11:59 PM EDT.  Winners will be announced on the @heffydoodle & @lalalandcrafts IG accounts on 8.24.23!

My cards feature PRODUCTS from Heffy Doodle and PRODUCTS from La-La Land Crafts.

Be sure to head on over to Instagram and leave comments there for a chance to win! Comments left here will not be eligible.

You’re here: @simplystampingcrazy
Next stop: @jordyscards

🌸🌸🌸 IG Hop Lineup: 🌸🌸🌸

@
heffydoodle
simplystampingcrazy
jordyscards
swillsh279
margaret.a.russell
handmadebytasha13
ink_something_crafty
craftyandcreativevibes
lalalandcrafts

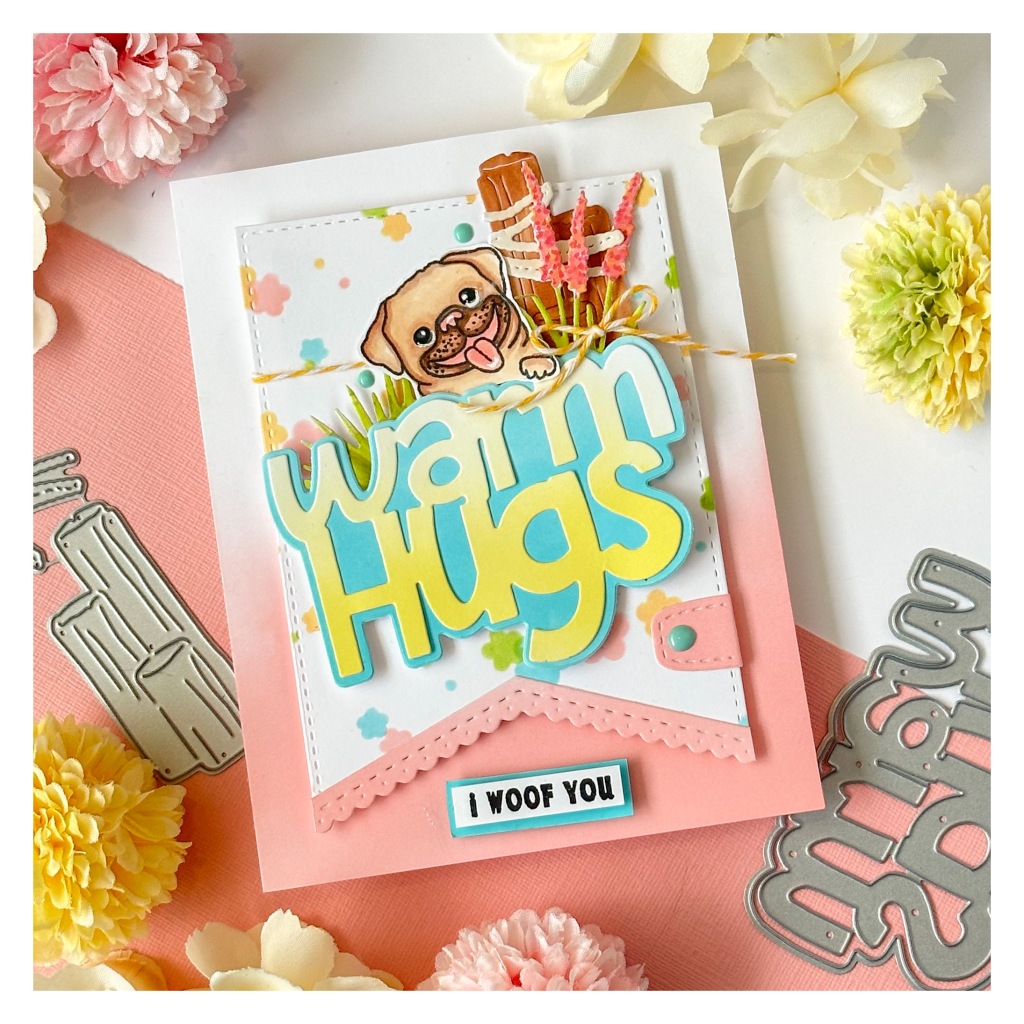
🍃MAKE THESE CARDS🍃

Heffy Doodle
Warm Hug Die
Chimply the best stamp set
Flower Power Stencil
Cloudy Skies Stencil
La-La Land Crafts
Beach Pilings Border Die
Beach Pilings Die
Retro Camper Van Die
Olive Branches Die
Mushroom and Grass Border Die
Grass Patches Die
Large Banner Die
Pawsome Clear Stamp Set
Awakening Paper Pack

Links may contain Affiliate Links. By shopping from these links I receive a small percentage at no extra cost to you.

Thanks for popping by!
Crafty Hugs,
Allie 🌸

This giveaway is not associated with or sponsored by Instagram or Facebook, and you must be 18 or older to be eligible to enter or win.
Please note that all prize gift vouchers are valid for 3 months from date of issue. Prizes must be redeemed before the expiration dates.

Pocket Envelope – Tutorial Thursday


Hello everyone! Welcome to Tutorial Thursday!

ALLISON here with you today to share a tutorial with you!

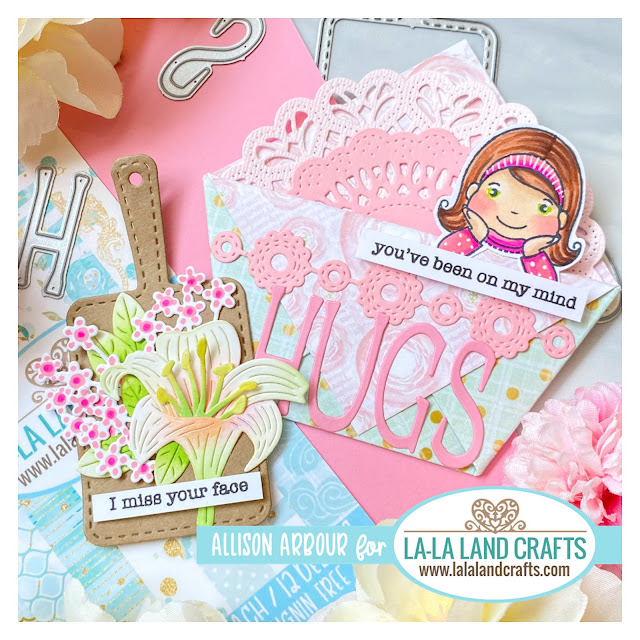
Today’s tutorial is:  POCKET ENVELOPE
A super easy mini pocket to use for gift cards, junk journals, or to tuck a sweet message into
PRODUCTS USED


 SPECTRUM NOIR COLORS
Hair – EB5,3,TN5,2
Skin – TN2,GB1,FS9,CR1
Shirt – BP4,PP4
White gel pen

~ now for the tutorial you have been waiting for ~ 


Start with a 6×6 piece of paper.  I used paper from the spring has sprung paper pack.


Fold in half – corner to corner


Fold down the front fold to the bottom
Lift up flap and fold each side in.  Burnish with bone folder.  You can glue to hold together if you like


Die cut large mandala doily and cut in half.  Glue to inside of envelope


Glue half doily die on top of mandala doily half


Glue on doily border die and trim off excess


Colour, fussy cut and glue on image, skinny letters.  Attach sentiment with dimensional tape

Die cut pizza paddle from brown card stock.  Add die cut flowers, leaves and sentiment


We hope that you are inspired to try out your own creation with the amazing stamps and dies from La-La Land Crafts! 

Make sure to join our LLLC FAN GROUP on Facebook for more ideas, 

inspiration and a general chit chat about our products!
Hoping you all have a great week of Creating
ALLISON 

Click on the buttons below to find us on these social media sites:


Ink Swatches

Hello everyone! Welcome to Tutorial Thursday!
ALLISON here with you today to share a tutorial with you!
Today’s tutorial is: COLOUR SWATCHES
A FUN AND COLOURFUL WAY TO SWATCH YOUR FAVOURITE INKS
PRODUCTS USED
~ now for the tutorial you have been waiting for ~
Die cut paint brushes from white card stock.
Ink blend the stencil of your choice for each paintbrush starting on the handle and finishing above the bristles.
Die cut paint drips and ink blend colour all over drips.
Die cut labels section from white card stock and ink blend with ink colour as well.
Assemble with glue.
Print and cut label indicating colour of ink.  Attach with glue
To strengthen paint drips add a layer of glossy accents.
Die cut Paint Splotches Die from white card stock.
Ink up background stamp and stamp splotches die cut.
Write/Label back with brand and colour
Hole punch.
Add a key ring and hang in plain view for yummy colour therapy
We hope that you are inspired to try out your own creation with the amazing stamps and dies from La-La Land Crafts!
Make sure to join our LLLC FAN GROUP on Facebook for more ideas,
inspiration and a general chit chat about our products!
Hoping you all have a great week of Creating
ALLISON
Click on the buttons below to find us on these social media sites:

Technique Tuesday April Release

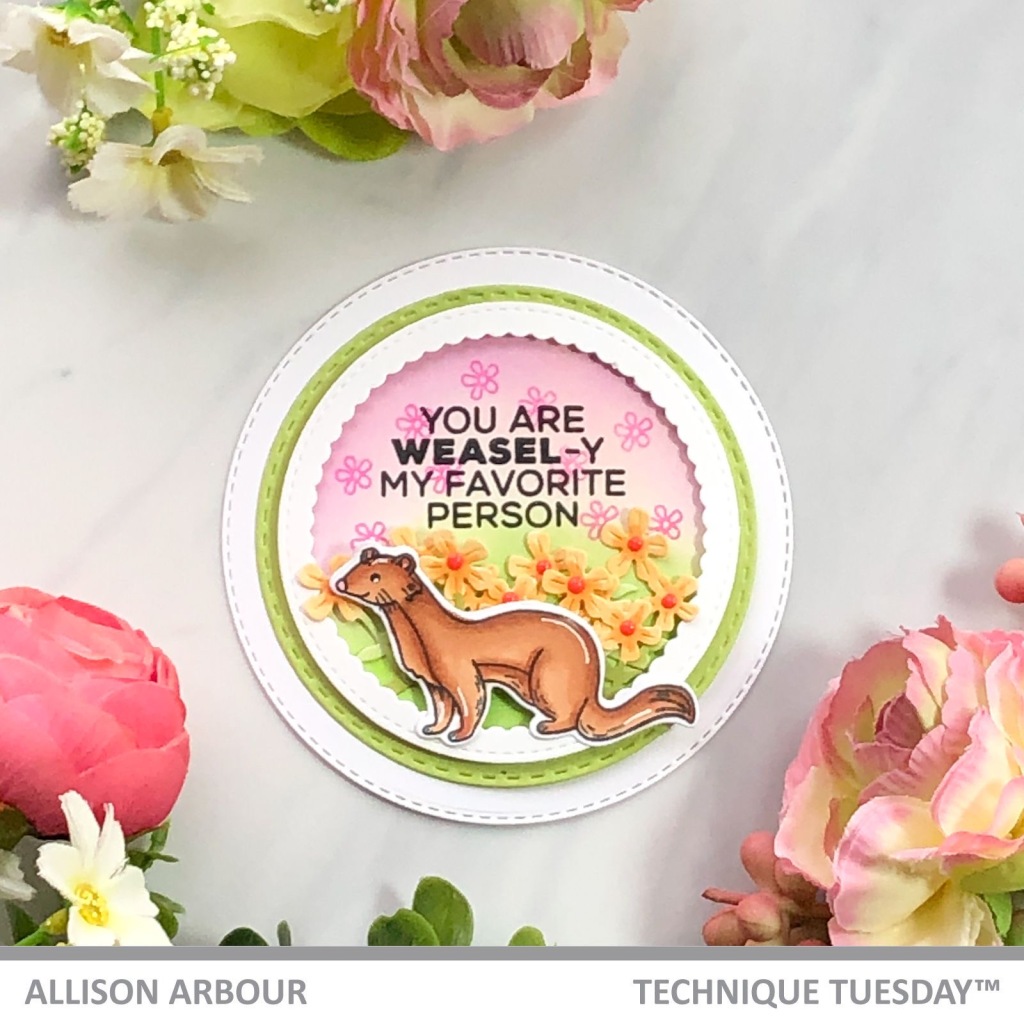
Some cute animals and pretty florals are part of Technique Tuesdays Animal House and Garden Society release this month.

Woodland Animals Clear Stamp Set is filled with some super cute and furry critters and punny sentiments. From racoons to weasels this is such an adorable set.

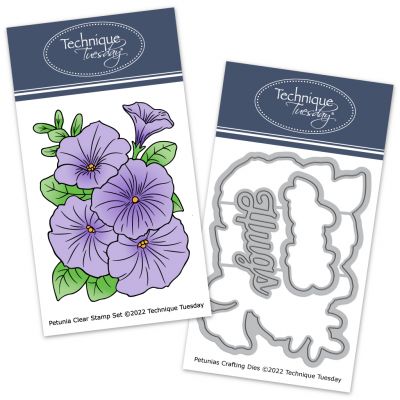
Petunia Clear Stamp Set and Matching Crafting Die is a beautiful large Petunia and the matching die has the word hugs along with the matching shadow cut.

Thanks for stopping by,

Crafty Hugs,

Allie

Picket Fence April Release

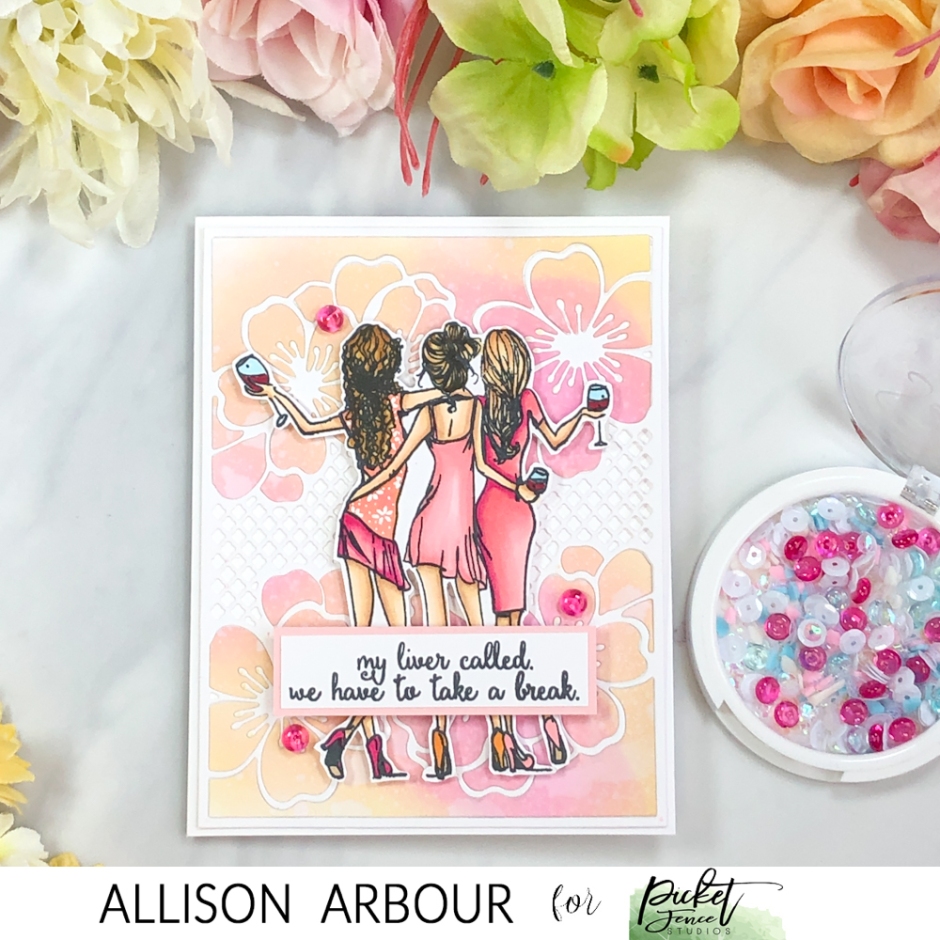
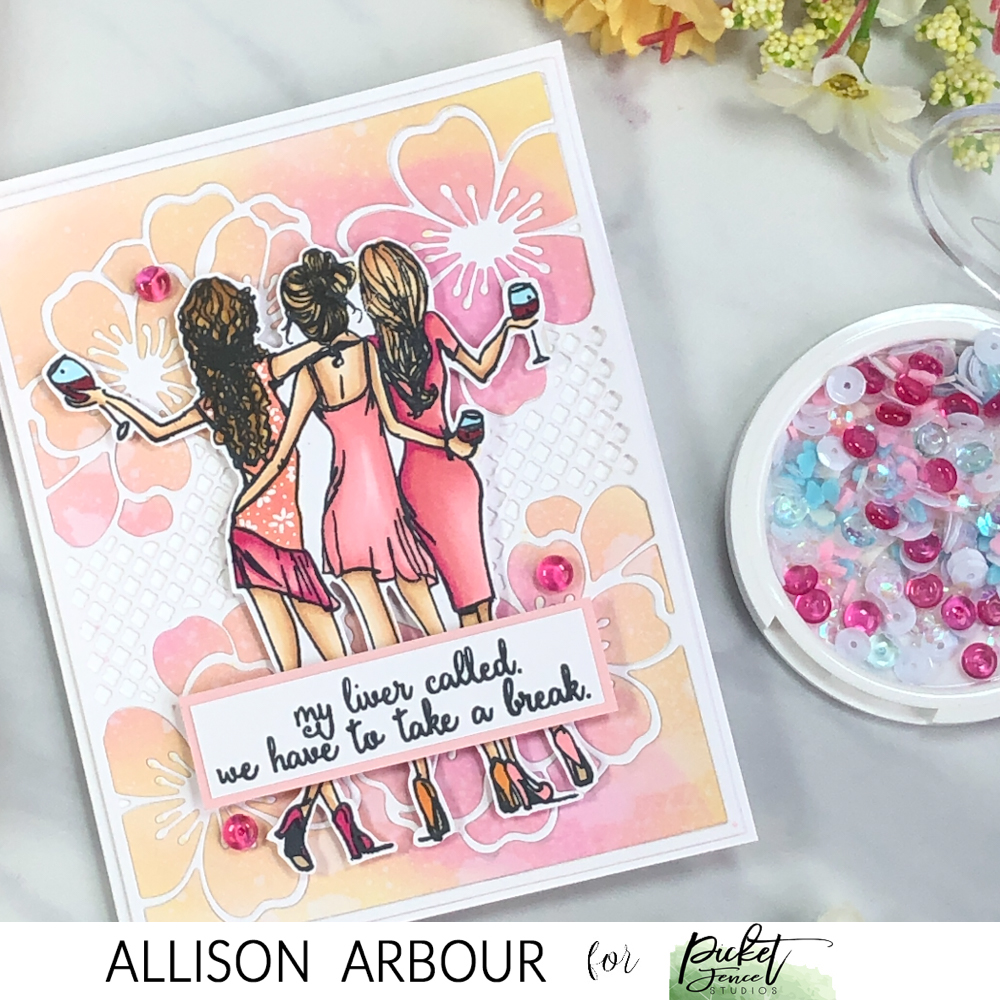
Sharing my final 2 cards as guest designer over at Picket Fence Studios today. I had so much fun playing with all the pretty and fun images and dies and those yummy shaker bits.

Products Used

Tropical Leaves A2 Stencil

A2 Cherry Blossoms Cover Plate Die

Bff Girls Night Out Clear Stamp Set

Filled To The Bri Clear Stamp Set

Sequin Mix Plus – Crafty Friends

Sequin Mix Plus – On a Cloudy Day

Crafty Hugs,

Allie

Technique Tuesday March Release

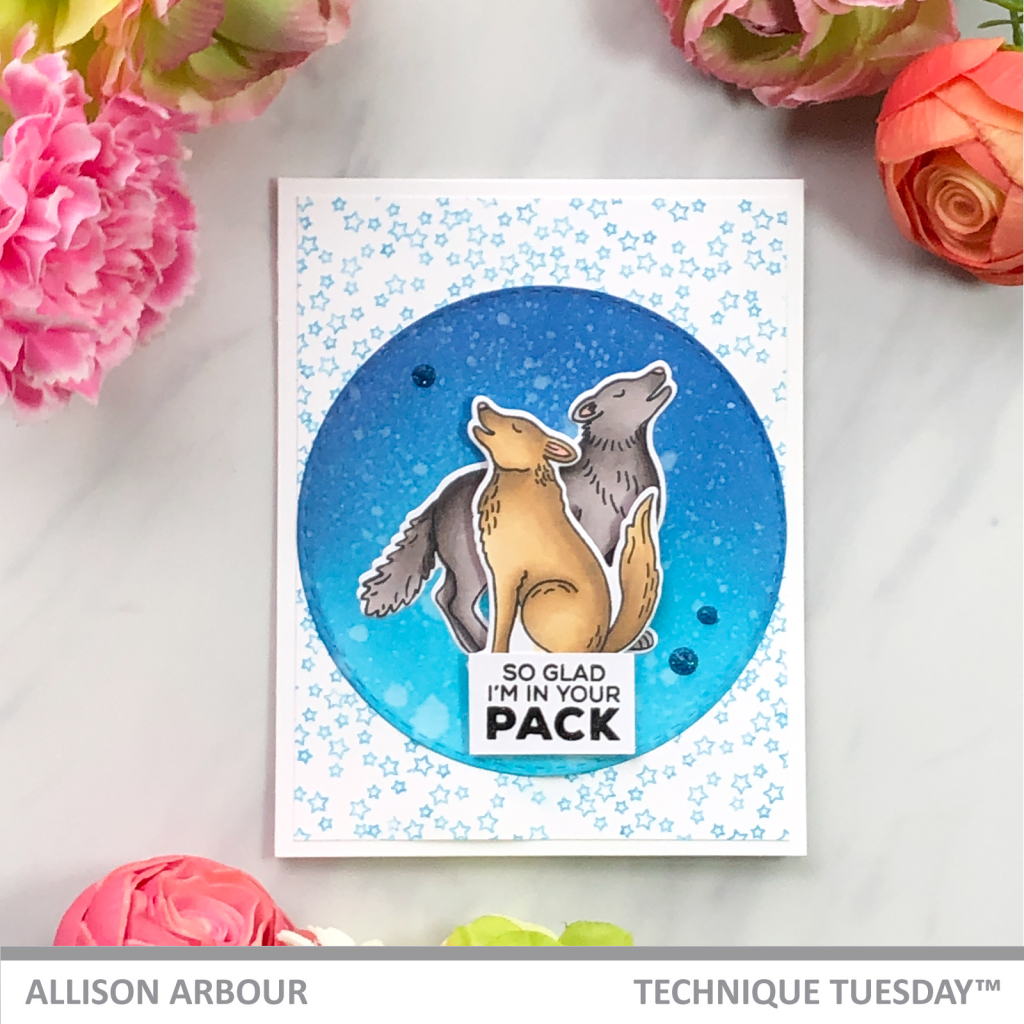
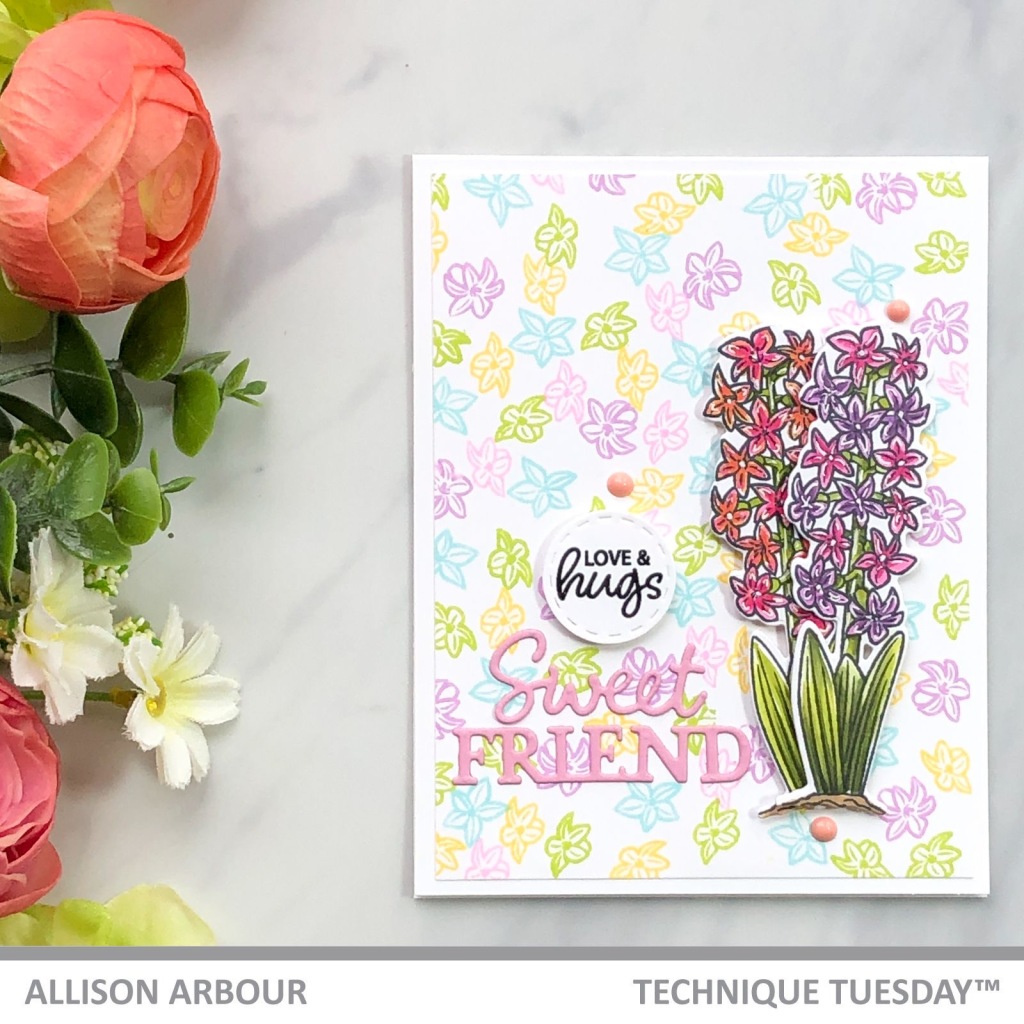
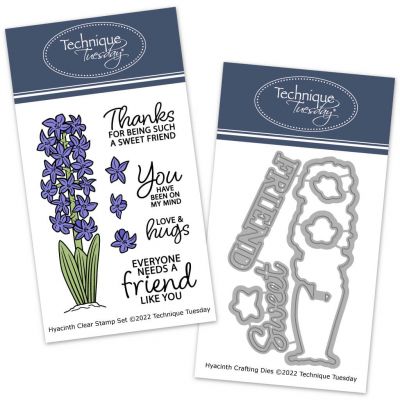
This month Technique Tuesday has brought a delicate Hyacinth and matching crafting die to their Green House Society and a Wolf Stamp Set to the Animal House Stamps release.

The wolf stamp set consists of two wolf images as well as lots of fabulous sentiments.

The Hyacinth has one beautiful hyacinth as well as 3 smaller floral buds and 4 sentiments. The matching crafting dies has an additional Sweet Friend Die cut.

Thanks for stopping by,

Crafty hugs,

Allie

Picket Fence Studios April Release

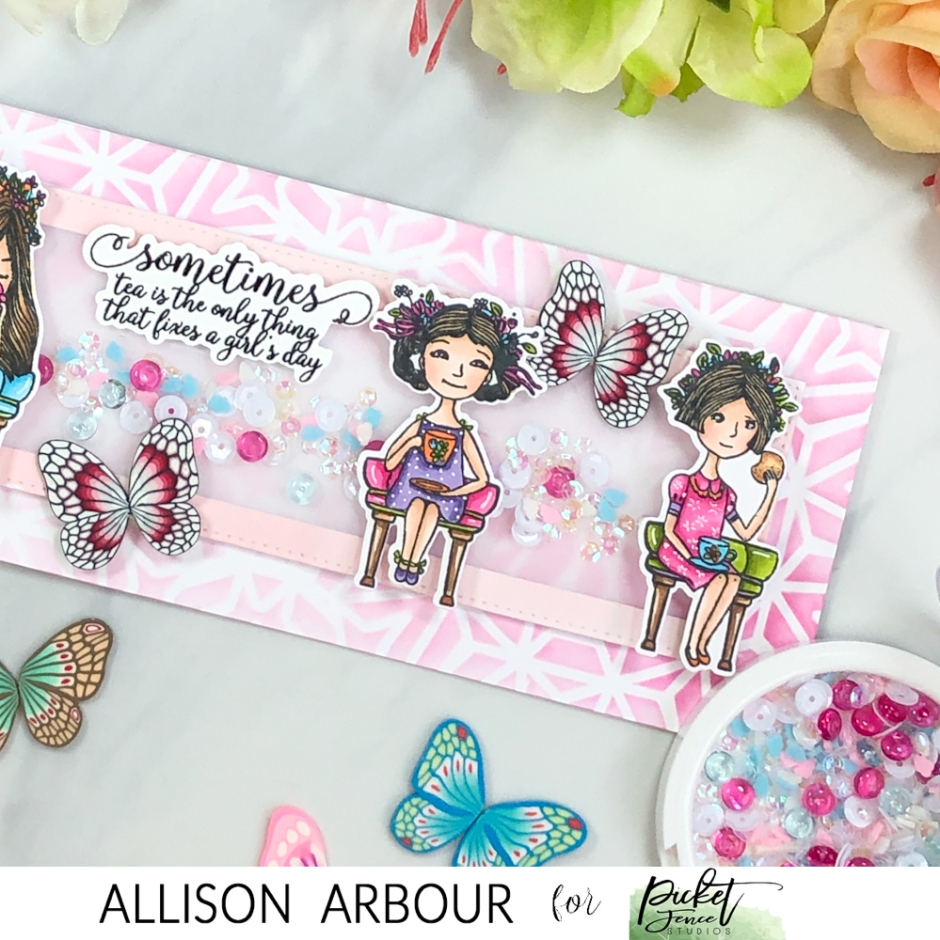
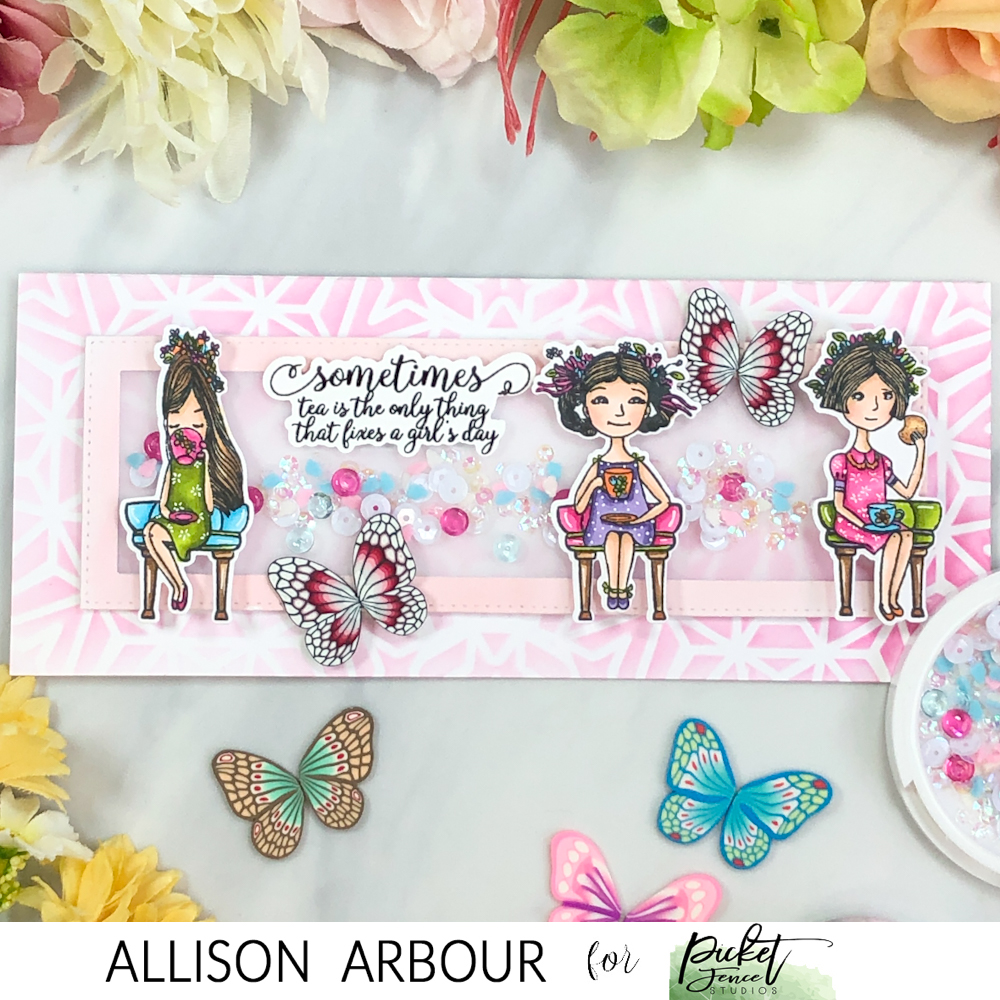
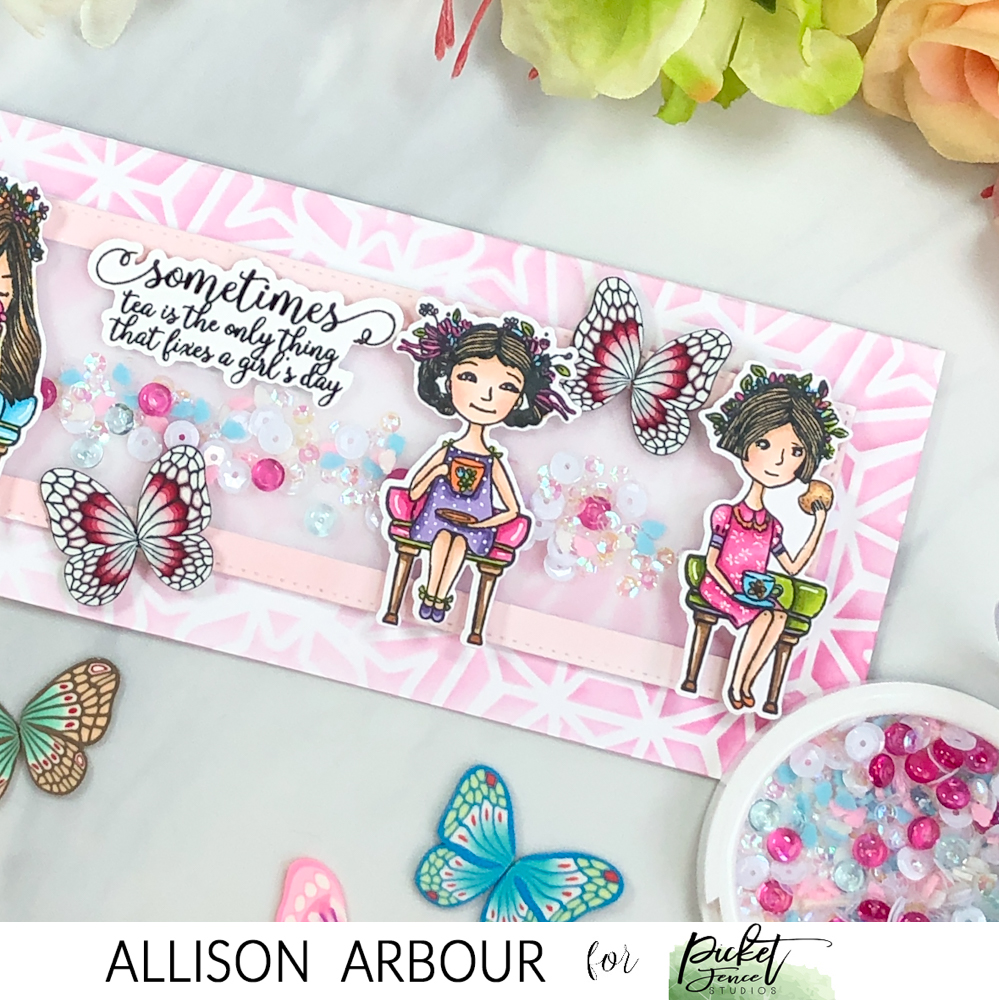
Sharing some crafty inspiration today using the fun new release at Picket Fence Studios.

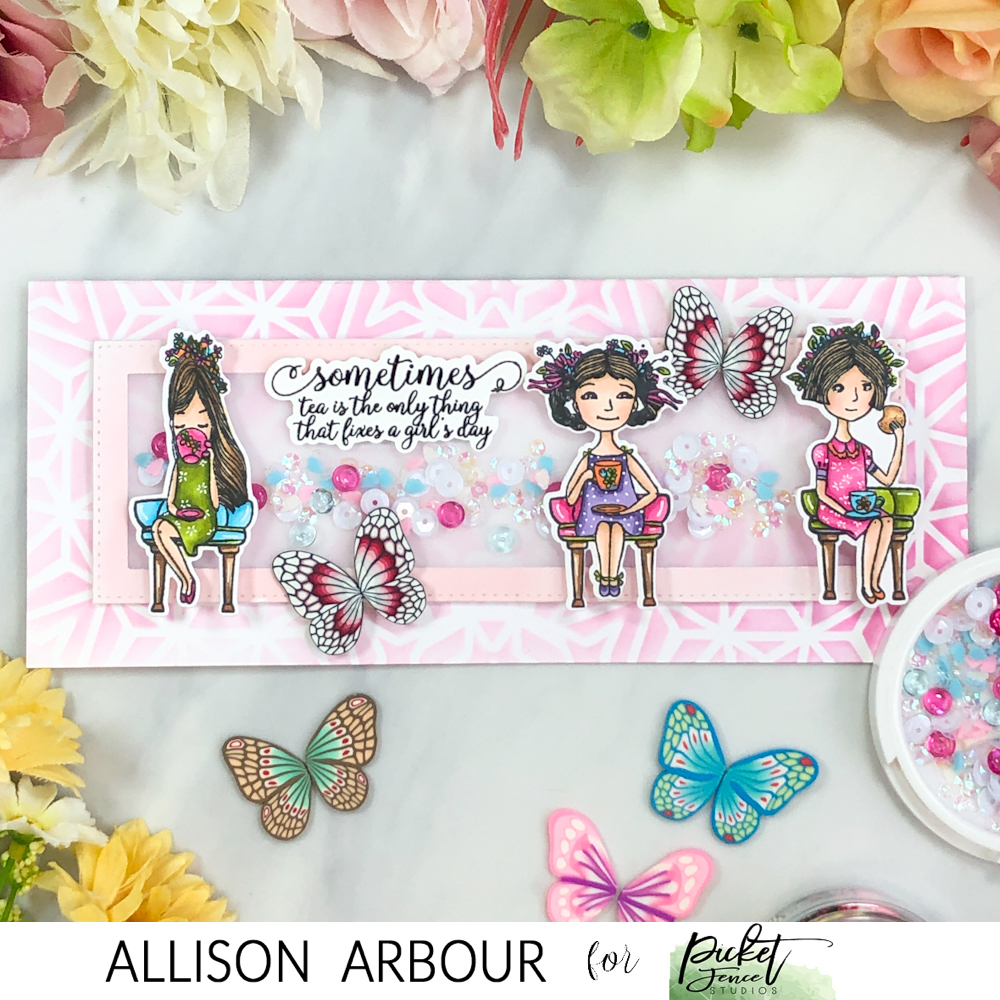
Sometimes tea is the only thing

Products Used

Filled to the brim stamp set

Filled to the brim die

Kaleidoscope Butterflies

Sequin mix plus – on a cloudy day

Slimline Retro Burst Stencil

I wanted to use vellum instead of acetate for a shaker window but didn’t want to mute out the pretty shaker bits. By adding extra strong liquid glue to the top of the vellum I was able to show the pretty shaker bits without muting them behind vellum.

To attach the ladies I used dimensional tape on the back of the ladies but positioned it around the layer of embellishments to keep the face on the card as level as possible.

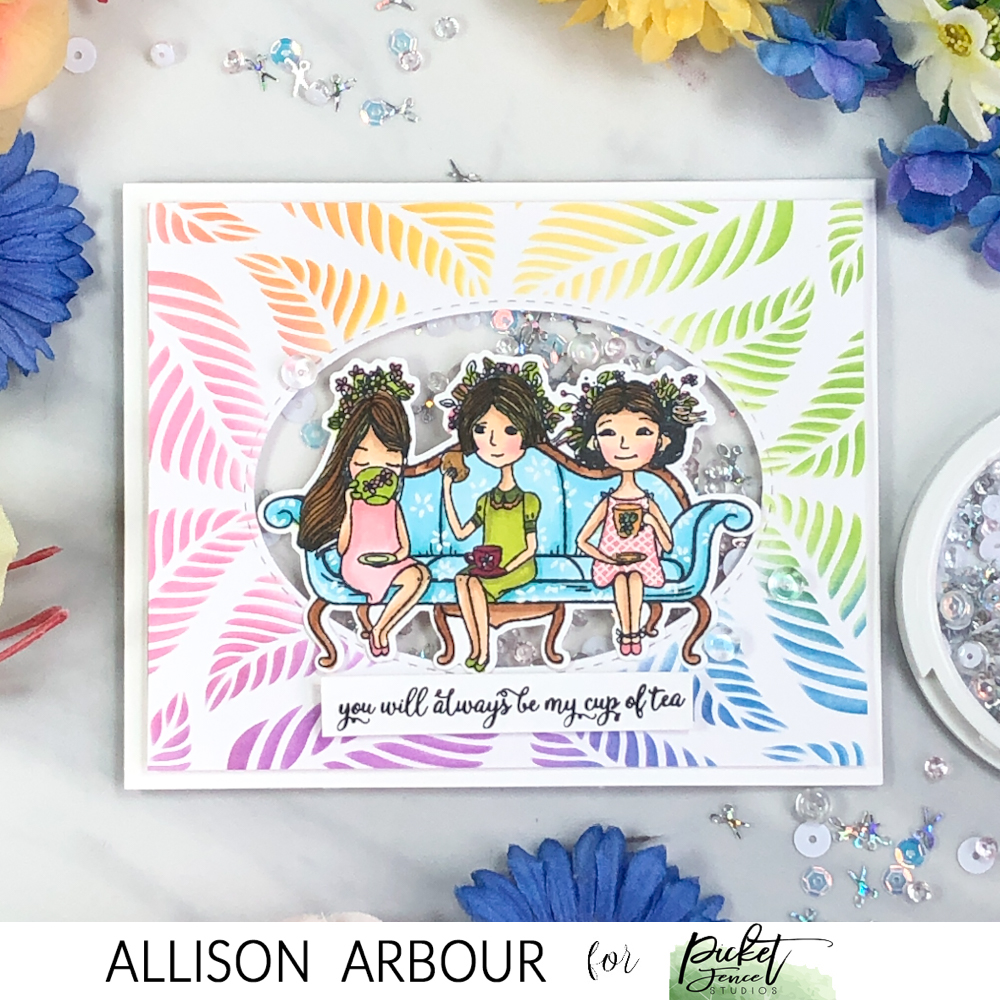
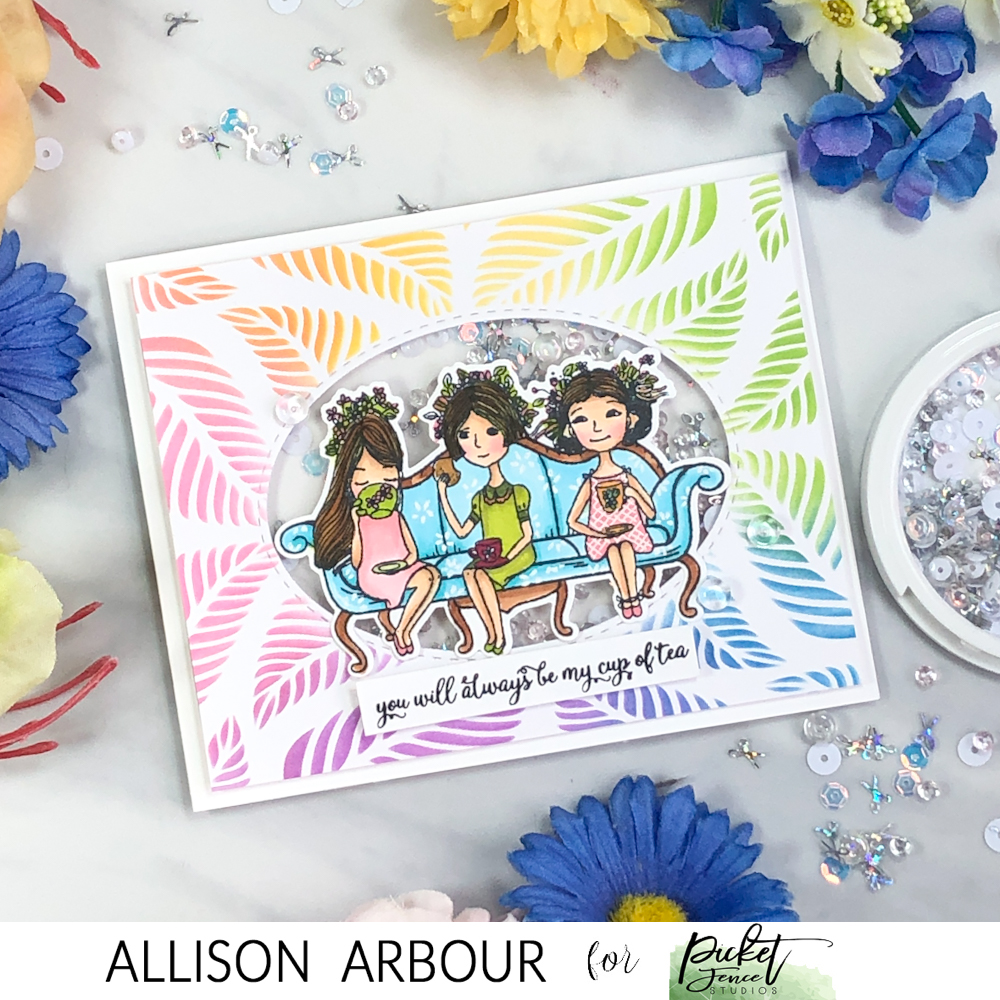
You will always be my cup of tea

Products Used

Filled to the brim stamp set

Filled to the brim die

Tropical Leaves A2 Stencil

Sequin Mix Plus – Crafty Friends

I used oxide inks in the colours salvaged patina, kitsch flamingo, scattered straw, mowed lawn, wilted violet and wild honey on the leafy stencil.

Thanks for stopping by,

Crafty Hugs,

Allie

Picket Fence April Release

It’s a new release over at Picket Fence Studios and I am so excited to be guest designing this month using some of the fabulous crafty items from this release.

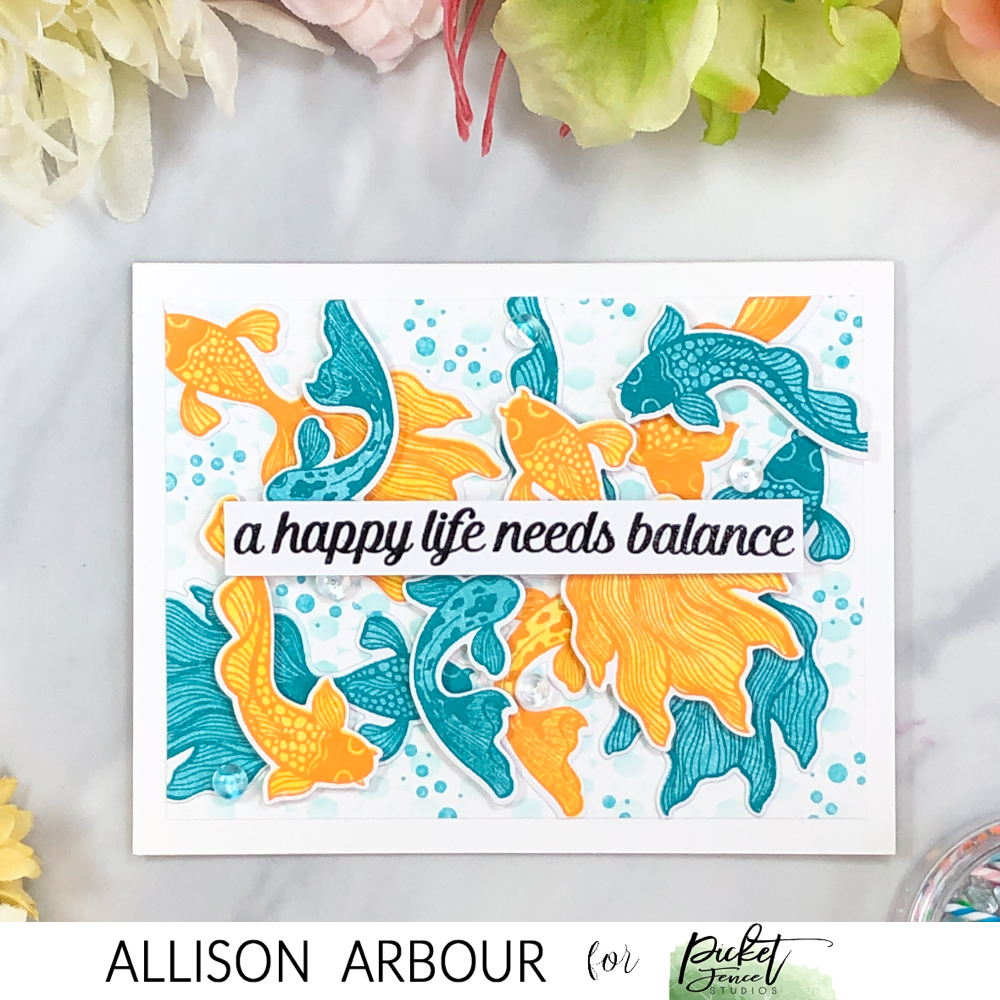
I’m sharing two cards today using the graceful Koi stamp set with matching die and some of the fun new embellishment/shakers from the release.

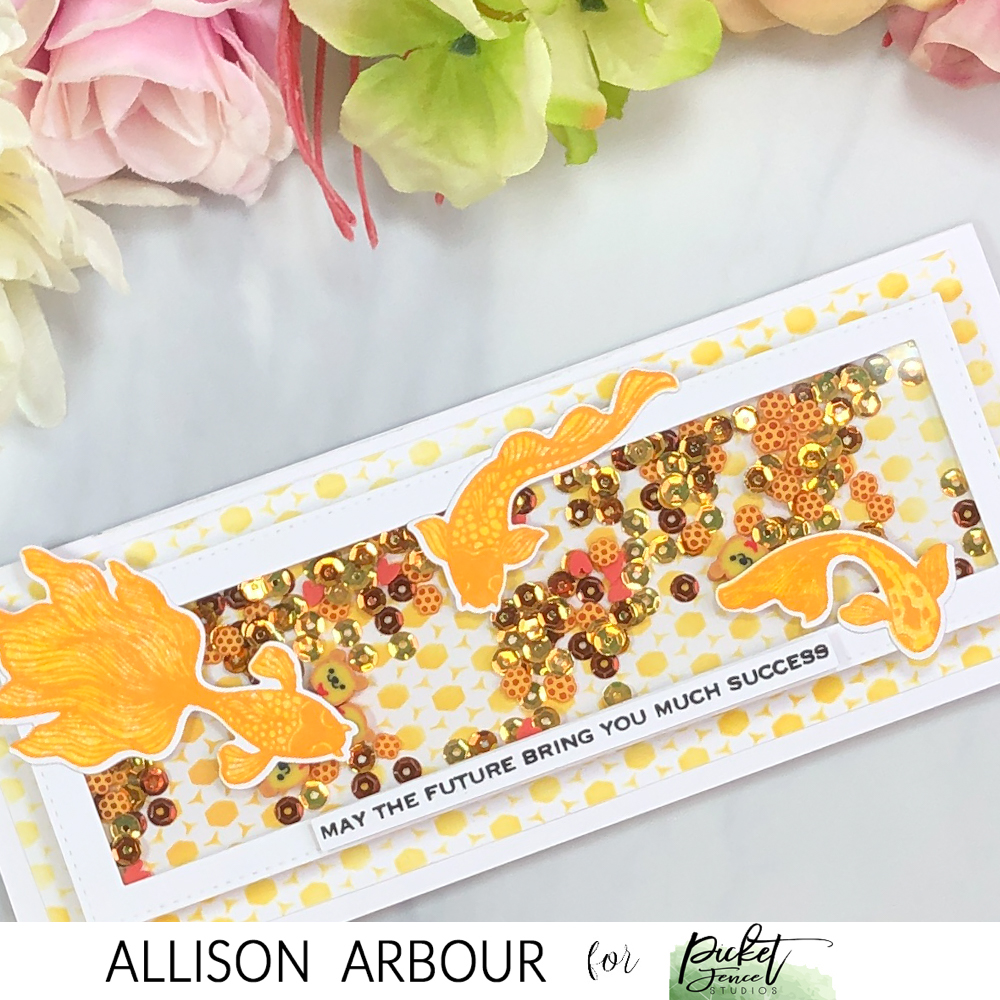
Slimline shaker – MAY THE FUTURE BRING YOU MUCH SUCCESS

Using wild honey oxide ink and the new Slimline Randomness Hexagon Stencil on a trimmed down sheet of white card stock, ink up and add to a white slimline card base.

Create a shaker frame using acetate and fill with the new Sequin Mix Plus Honey Bears and attach on top.

Stamp sentiment in black versa fine onyx black ink, heat emboss in clear and add dimensional tape and attach to shaker frame.

Stamp and die cut graceful Koi and glue in place.
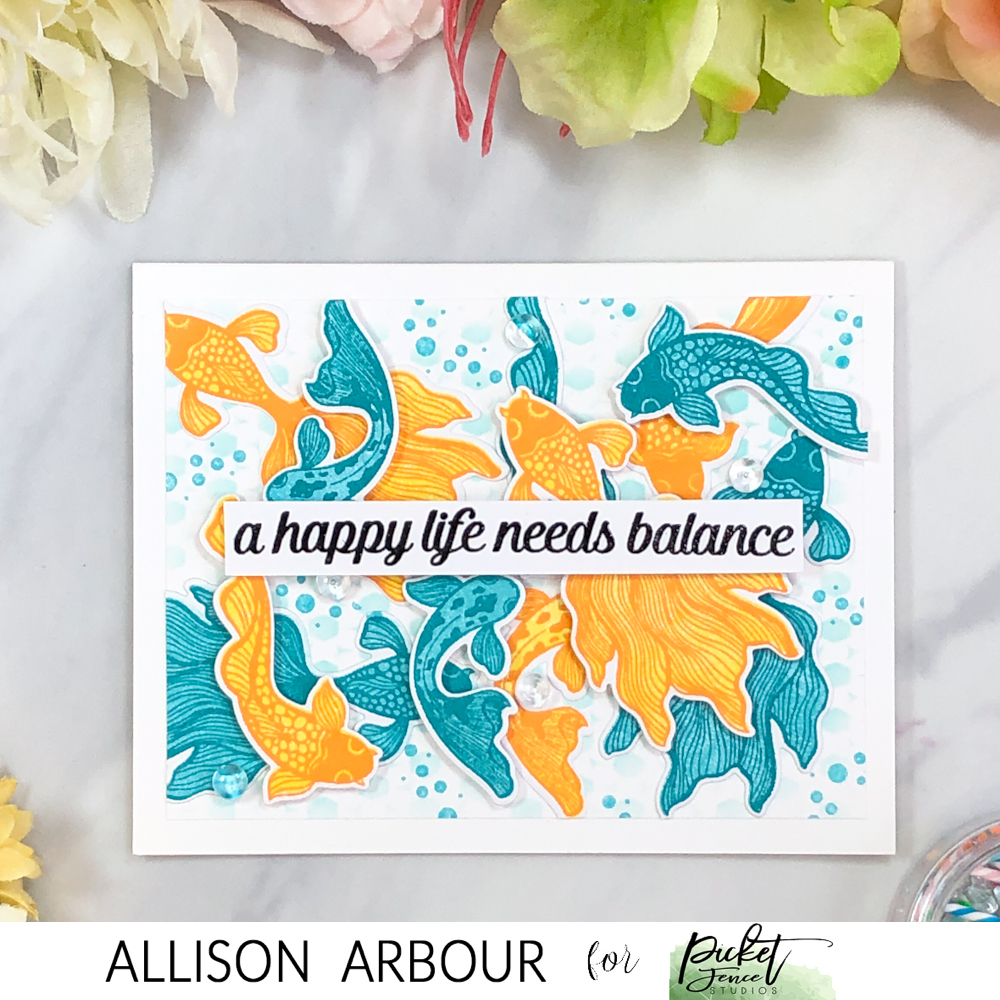
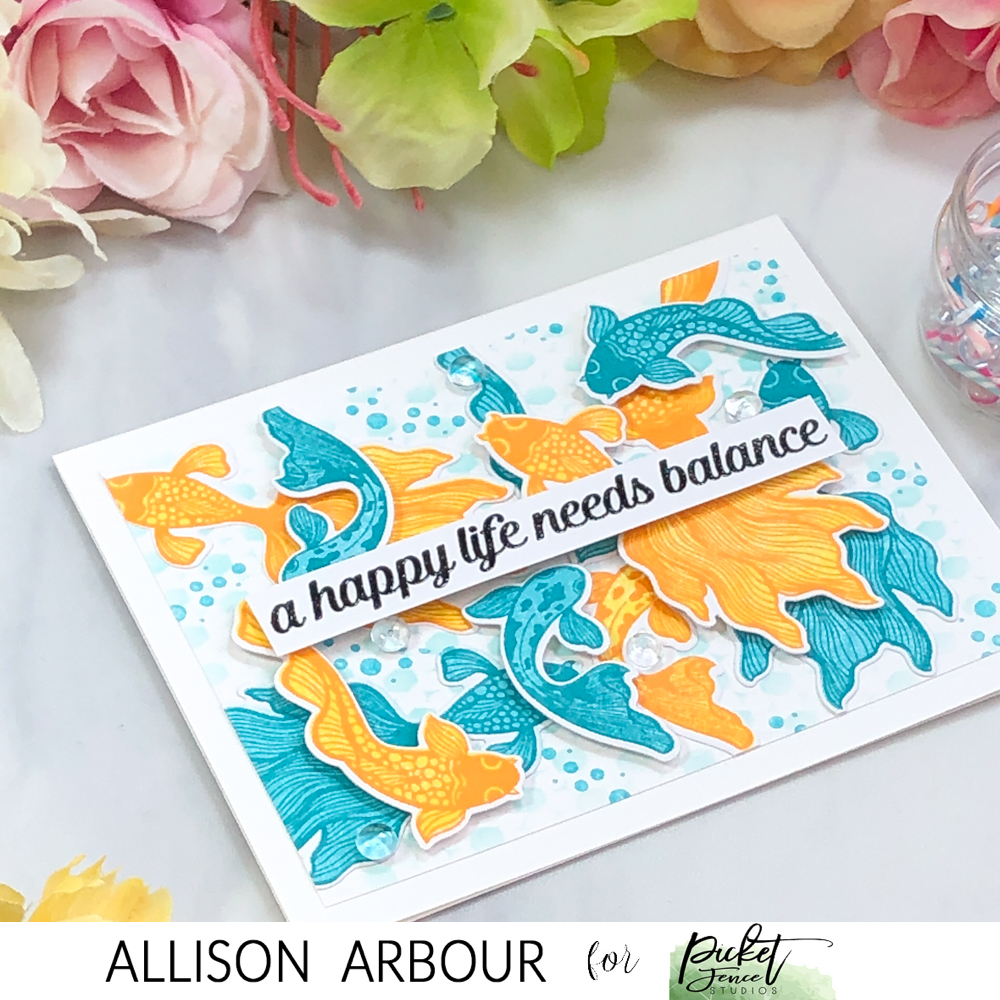
A HAPPY LIFE NEEDS BALANCE

Start with a white card stock panel trimmed down to 4″ x 5 1/4″. Stencil the new Slimline Hexagon Randomness Stencil with patina oxide ink. Stamp the bubbles from the Graceful Koi fish in a soft turquoise on the panel as well.

Stamp and die cut Graceful Koi fish in orange and turquoise and glue on panel. Trim off fish that over hang the panel. Using dimensional tape add another layer of fish and trim off any parts that overhang.

Add sentiment stamped in black and heat embossed in clear on white cardstock and attach to center of card with dimensional tape.

Finish with a few clear gems from the new Wishes embellishments.

Crafty Hugs,

Allie